
Roguelike Tutorial Part 1
Roguelike in Go - Part 1 (Creating a basic Map)
Create an empty project to type go mod init as you would starting any golang project.
As an example, mine is: go mod init github.com/RAshkettle/rrogue
Once you are done with that, create a file and name is main.go
Start out as you would any program with package main and add includes so it looks like the following:
    package main
    import (
    _ "image/png"
    "log"
    "github.com/hajimehoshi/ebiten/v2"
    )
This will set up all the imports we need for now. Note that we are using v2 of Ebiten. We are also adding logging and adding support for loading png images.
Speaking of the images, grab the code from here and copy the assets folder into your project. Of course, you can use any assets you want, just make sure they are 16x16 pixel assets in png format or you will need to change the code accordingly.
Now we need to create a Game struct. This will hold all the data we need globally for the game, and also will be the structure which will meet the interface to bootstrap Ebiten. For now, this is as simple as follows:
    //Game holds all data the entire game will need.
    type Game struct { }
Now we create a constructor for it.
	//NewGame creates a new Game Object and initializes the data
        //This is a pretty solid refactor candidate for later
        func NewGame() *Game {
        	g := &Game{}
        	return g
        }
For now, it does very little, but we will slowly change that over time.
Next we add the callbacks for Update, Draw and Layout.
    //Update is called each tic.
    func (g *Game) Update() error {
	    return  nil
    }

    //Draw is called each draw cycle and is where we will blit.
    func (g *Game) Draw(screen *ebiten.Image) {
    }

    //Layout will return the screen dimensions.
    func (g *Game) Layout(w, h int) (int, int) { return  1280, 800 }
The only real thing happening here is that I’m telling Ebiten to create a window that’s 1280 x 800. Other than that, it’s just adding boilerplate code for later.
Now we just have to add our main function.
    func main() {
	    g := NewGame()
	    ebiten.SetWindowResizable(true)
	    ebiten.SetWindowTitle("Tower")
	    if err := ebiten.RunGame(g); err != nil {
		    log.Fatal(err)
	    }
    }
What this is doing should be pretty obvious, but let’s run it.
Not very exciting…
So far, what we have done isn’t very exciting at all. We created an empty window. Not exactly the most amazing start, but it’s a start. Let’s add some sprites to our screen now.
Lets create a new file and name is level.go. This will hold all the information we need for a game level. Go ahead and add the following to the top of the file:
    package main

    import (
	    "log"
	    "github.com/hajimehoshi/ebiten/v2"
	    "github.com/hajimehoshi/ebiten/v2/ebitenutil"
    )
Note that here we have added a reference to ebitenutil, which we will use to load the assets.
Create a struct for holding all our static global game data:
    type GameData struct {
	    ScreenWidth int
	    ScreenHeight int
	    TileWidth int
	    TileHeight int
    }
While we are here, let’s make a constructor function for it:
    func NewGameData() GameData {
	    g := GameData{
		    ScreenWidth: 80,
		    ScreenHeight: 50,
		    TileWidth: 16,
		    TileHeight: 16,
	    }
	    return g
    }
Here we are indicating that our tiles are 16x16 and that our screen is 80 tiles wide and 50 tiles high. By strange coincidence, if you multiply these values, you will see it matches the screen size we set earlier.
Next, let’s create a structure to hold our individual tiles or squares on our map. Roguelikes tend to be tile based, so this will be an important structure.
    type MapTile struct {
	    PixelX int
	    PixelY int
	    Blocked bool
	    Image *ebiten.Image
    }
This holds the x and y values of the upper left corner of each of our tiles (for rendering purposes), whether or not the tile should block the player (or monsters), and a pointer to an ebiten Image. Each of the 80 by 50 tiles will be represented by one of these structures.
Now for a little optimization. Rather than store the tile in an array of arrays to indicate the two dimensional array of our map, we will store all tiles in one slice and utilize a helper function to determine which tile to return.
    //GetIndexFromXY gets the index of the map array from a given X,Y TILE coordinate.
    //This coordinate is logical tiles, not pixels.
    func GetIndexFromXY(x int, y int) int {
	    gd := NewGameData()
	    return (y * gd.ScreenWidth) + x
    }
This handy function will be used a lot going forward.
Now that we have this function and the associated structs, let’s build our initial map. This will be a simple one which will consist of all floor tiles except the outer bounds of the window, which will be walls.
    func CreateTiles() []MapTile {
	    gd := NewGameData()
	    tiles := make([]MapTile, 0)

	    for x := 0; x < gd.ScreenWidth; x++ {
		    for y := 0; y < gd.ScreenHeight; y++ {
			    if x == 0 || x == gd.ScreenWidth-1 || y == 0 || y == gd.ScreenHeight-1 {

			    wall, _, err := ebitenutil.NewImageFromFile("assets/wall.png")
			    if err != nil {
				    log.Fatal(err)
			    }
			    tile := MapTile{
				    PixelX: x * gd.TileWidth,
				    PixelY: y * gd.TileHeight,
				    Blocked: true,
				    Image: wall,
			    }
			    tiles = append(tiles, tile)
			    } else {
				    floor, _, err := ebitenutil.NewImageFromFile("assets/floor.png")
				    if err != nil {
					    log.Fatal(err)
				    }
				    tile := MapTile{
					    PixelX: x * gd.TileWidth,
					    PixelY: y * gd.TileHeight,
					    Blocked: false,
					    Image: floor,
				    }
				    tiles = append(tiles, tile)
			    }
		    }
	    }

	    return tiles
    }
That should be fairly straightforward to follow. Note that there are quite a few things we could do to optimize this code, but I’m going to hold off on it until later, as some of it will be removed as we get further down the path (and I don’t want to confuse the reader but will favor ease of reading over all else until we do refactors.
So, now that we have all that done, we are finished with level.go for this tutorial. Let’s go back to main.go and make some final changes.
In our Game struct, add the following:
Tiles []MapTile
Now game contains a slice of Tiles.
In the function NewGame, add the following line before the return:
g.Tiles = CreateTiles()
Now when you create your new game, it will load that slice of tiles with our map.
Lastly, we need to go into our Draw function and add the following code:
    //Draw the Map
    for x := 0; x < gd.ScreenWidth; x++ {
	    for y := 0; y < gd.ScreenHeight; y++ {
		    tile := g.Tiles[GetIndexFromXY(x, y)]
		    op := &ebiten.DrawImageOptions{}
		    op.GeoM.Translate(float64(tile.PixelX), float64(tile.PixelY))
		    screen.DrawImage(tile.Image, op)
	    }
    }
If you run the application, you should now see the following:
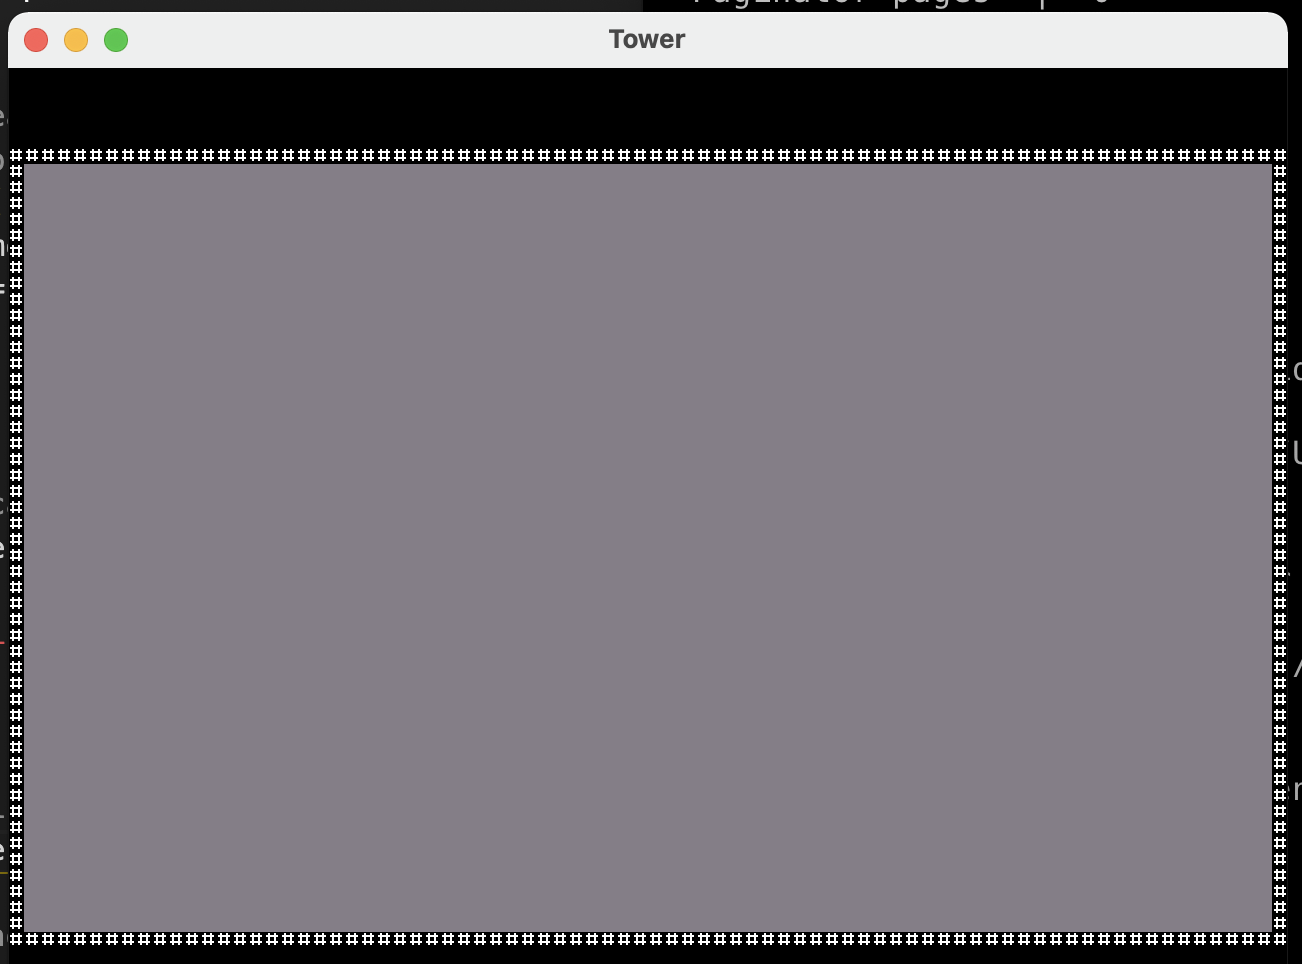
This covers our first steps. We set up a game and a window. We created a map and figured out how to represent the tiles on the map. We then rendered the map.
If you have any issues, feel free to double check with the code above and contact me at fatoldyeti@gmail.com if you have any questions.