
Roguelike Tutorial 19
Roguelike in Go - Part 19 (Player HUD)
All of the source code for this tutorial can be found here.
At this point, we should start creating a HUD for player information. A good first step would be to display the player’s current health, armor class, and weapon information so they have an idea of their current power and status.
Create a file and name is hud_system.go.
Once again, package is main and we need to do some imports. These will actually be the same as found in userlog_system.go
package main

import (
	"log"

	"github.com/RAshkettle/rrogue/fonts"
	"github.com/hajimehoshi/ebiten/v2"
	"github.com/hajimehoshi/ebiten/v2/ebitenutil"
	"golang.org/x/image/font"
	"golang.org/x/image/font/opentype"
)
Next, we declare some placeholders so we only load the image and the font once and not every call.
var hudImg *ebiten.Image = nil
var hudErr error = nil
var hudFont font.Face = nil
From there, create our system method. Name it ProcessHUD, and we will load our image and font just like we did in our userlog:
func ProcessHUD(g *Game, screen *ebiten.Image) {
	if hudImg == nil {
		hudImg, _, hudErr = ebitenutil.NewImageFromFile("assets/UIPanel.png")
		if hudErr != nil {
			log.Fatal(hudErr)
		}
	}
	if hudFont == nil {
		tt, err := opentype.Parse(fonts.MPlus1pRegular_ttf)
		if err != nil {
			log.Fatal(err)
		}

		const dpi = 72
		hudFont, err = opentype.NewFace(tt, &opentype.FaceOptions{
			Size:    16,
			DPI:     dpi,
			Hinting: font.HintingFull,
		})
		if err != nil {
			log.Fatal(err)
		}
	}
	//Add More stuff here
}
So, we have loaded our font and loaded our image for the HUD. Now let’s place it on the screen. Where it says //Add More Stuff, place the following:
	gd := NewGameData()

	uiY := (gd.ScreenHeight - gd.UIHeight) * gd.TileHeight
	uiX := (gd.ScreenWidth * gd.TileWidth) / 2
	var fontX = uiX + 16
	var fontY = uiY + 24
	op := &ebiten.DrawImageOptions{}
	op.GeoM.Translate(float64(uiX), float64(uiY))
	screen.DrawImage(userLogImg, op)
This will place our HUD UI element directly to the right of our message log.
Now we loop through player entities and grab them (there will be one):
	for _, p := range g.World.Query(g.WorldTags["players"]) {


		}
	}
The rest of the code for this file will happen within this loop. We will grab the components for the player and show any relevant statistics that make sense:
		h := p.Components[health].(*Health)
		healthText := fmt.Sprintf("Health: %d / %d", h.CurrentHealth, h.MaxHealth)
		text.Draw(screen, healthText, mplusNormalFont, fontX, fontY, color.White)
		fontY += 16
		ac := p.Components[armor].(*Armor)
		acText := fmt.Sprintf("Armor Class: %d", ac.ArmorClass)
		text.Draw(screen, acText, mplusNormalFont, fontX, fontY, color.White)
		fontY += 16
		defText := fmt.Sprintf("Defense: %d", ac.Defense)
		text.Draw(screen, defText, mplusNormalFont, fontX, fontY, color.White)
		fontY += 16
		wpn := p.Components[meleeWeapon].(*MeleeWeapon)
		dmg := fmt.Sprintf("Damage: %d - %d", wpn.MinimumDamage, wpn.MaximumDamage)
		text.Draw(screen, dmg, mplusNormalFont, fontX, fontY, color.White)
		fontY += 16
		bonus := fmt.Sprintf("To Hit Bonus: %d", wpn.ToHitBonus)
		text.Draw(screen, bonus, mplusNormalFont, fontX, fontY, color.White)
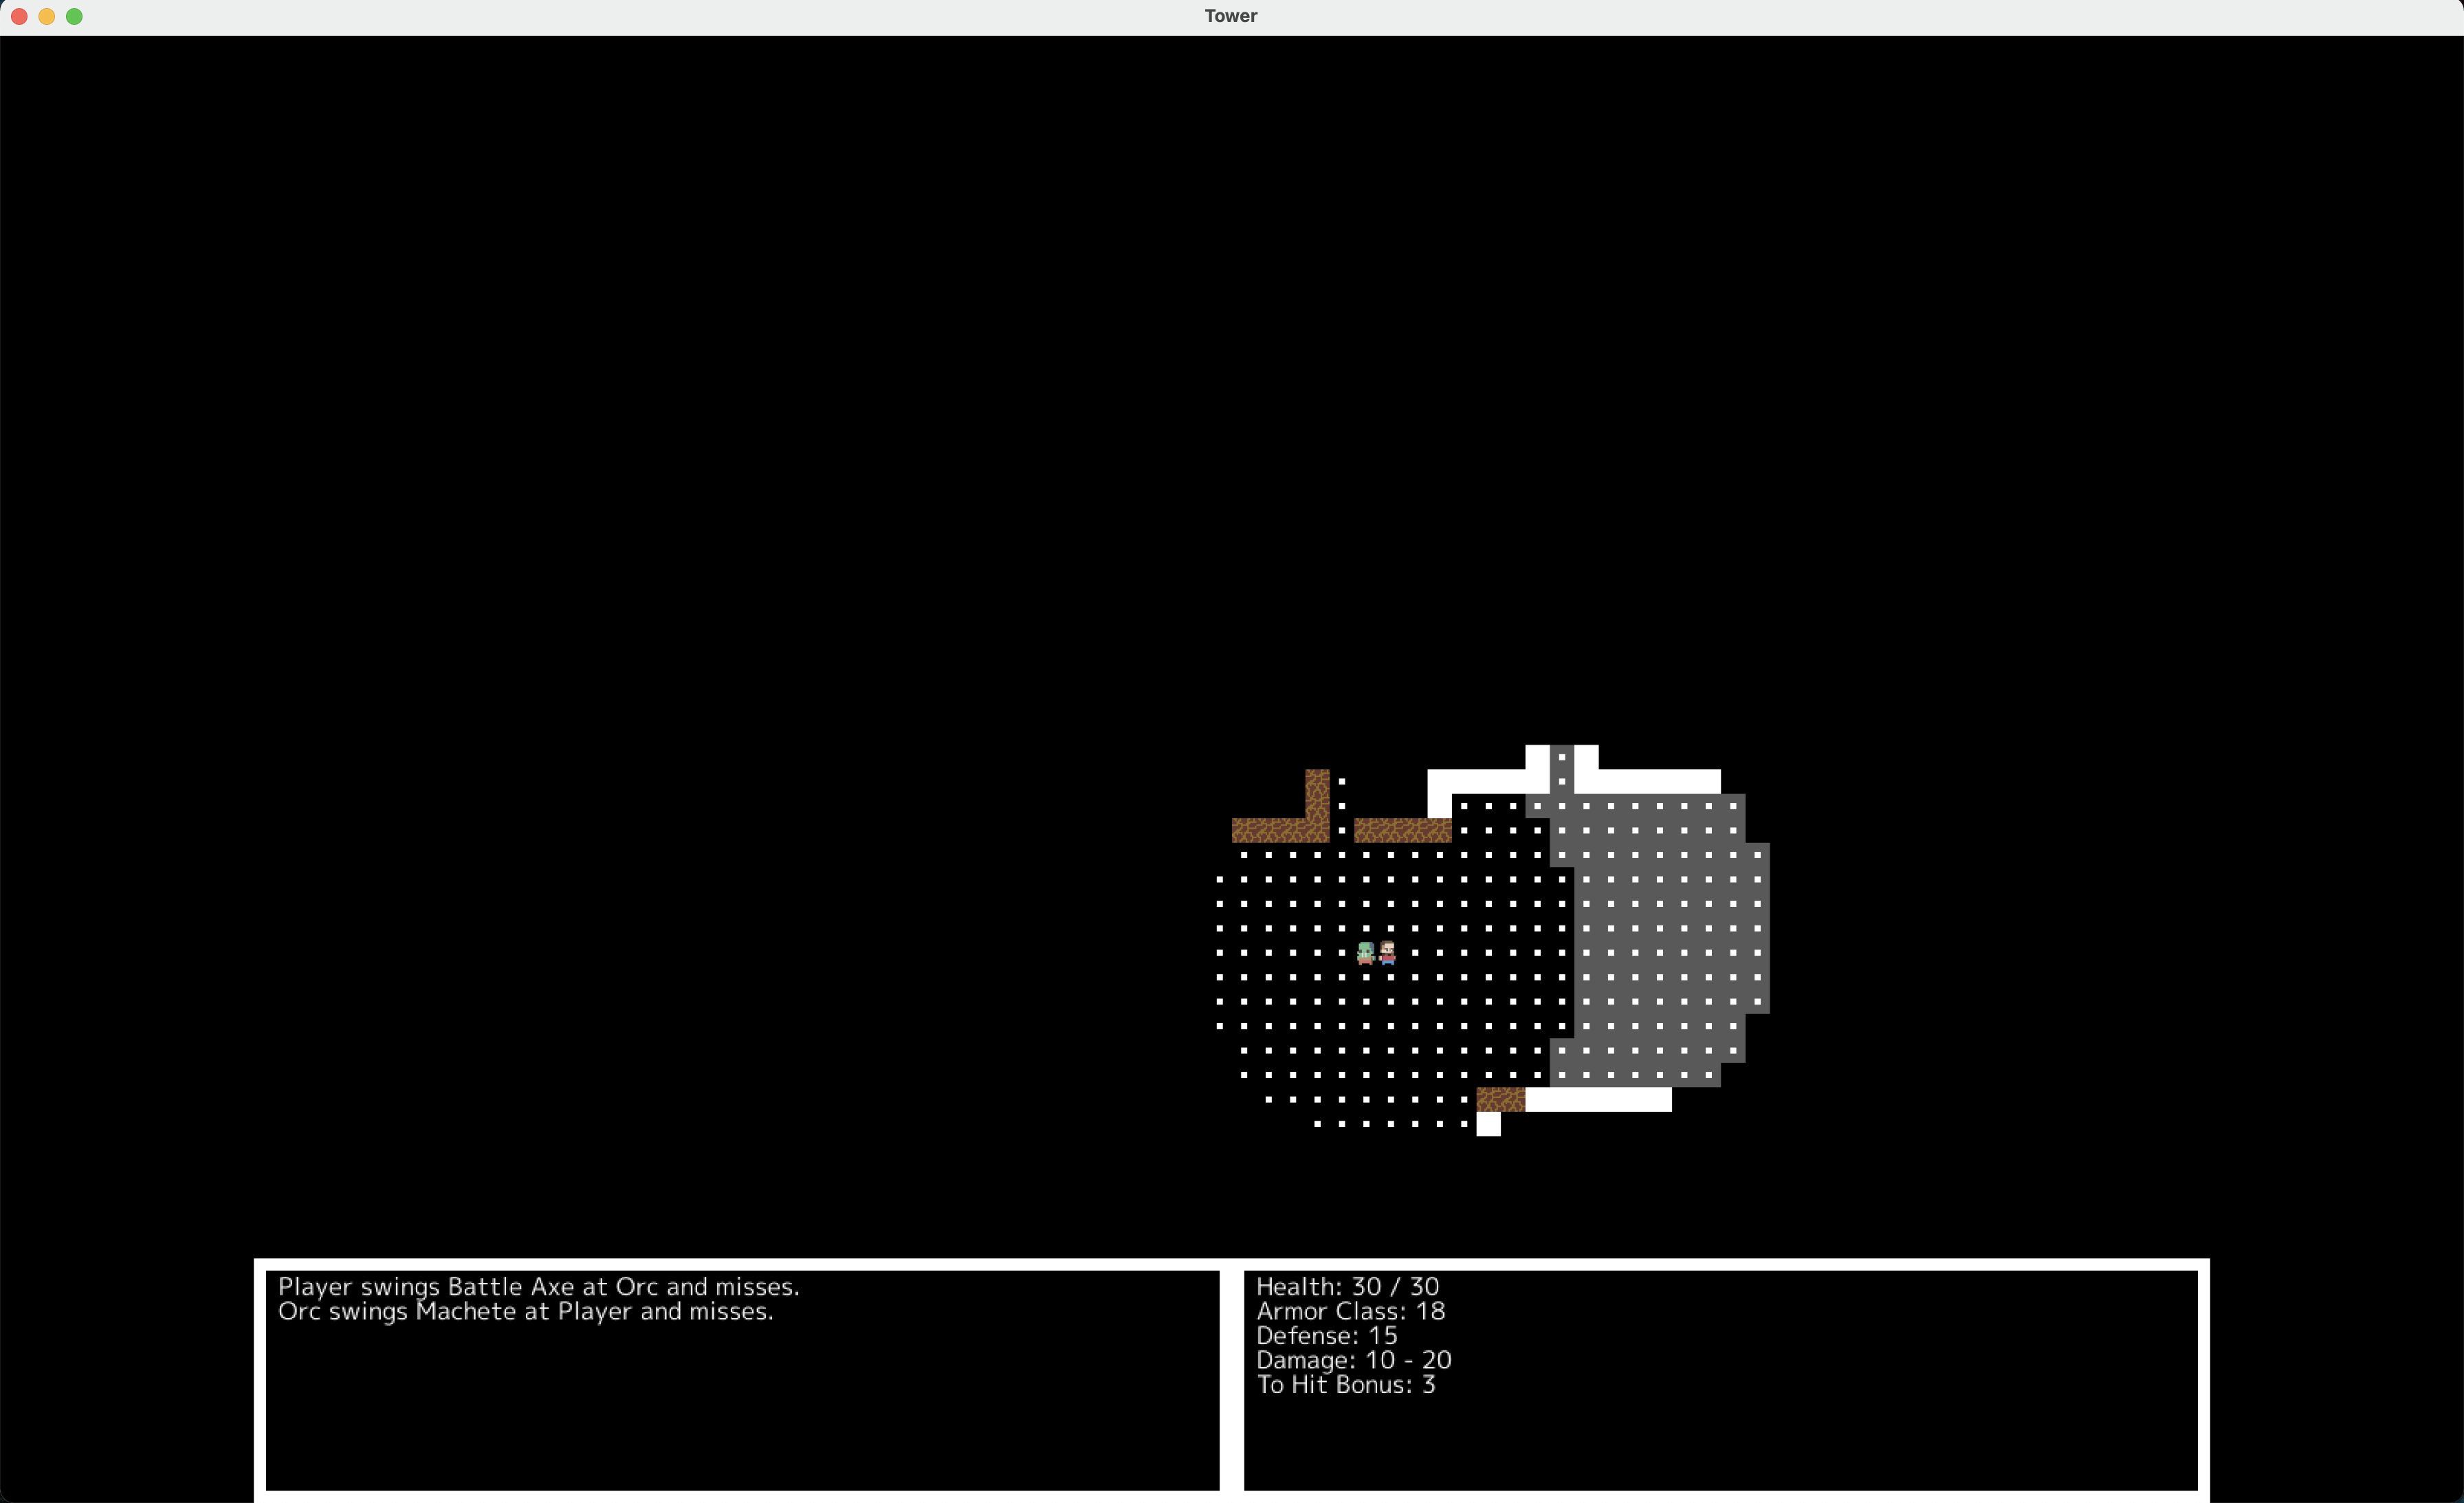
Lastly, we need to open main.go and add a call to our system in our Draw Routine. At the bottom of the Draw function add this:
ProcessHUD(g, screen)
Run the application and it should look something like this:
If you have any questions on this tutorial, feel free to hit me up at fatoldyeti@gmail.com or @idiotcoder on the gophers slack. In addition, I’m on the Ebiten Discord as Idiotcoder. Also, there is my discord linked above.