
Roguelike Tutorial 3b
Roguelike in Go - Part 3b (Adding Player and Movement)
The code for part 3 can be found here.
Now let’s get that player on the screen.
Though we don’t need it immediately, we will certainly need to get plenty of random numbers. Let’s just get that out of the way now.
Create a file named dice.go and add the following to it.
package main

import (
	"crypto/rand"
	"math/big"
)

//GetRandomInt returns an integer from 0 to the number - 1
func GetRandomInt(num int) int {
	x, _ := rand.Int(rand.Reader, big.NewInt(int64(num)))
	return int(x.Int64())
}

//GetDiceRoll returns an integer from 1 to the number
func GetDiceRoll(num int) int {
	x, _ := rand.Int(rand.Reader, big.NewInt(int64(num)))
	return int(x.Int64()) + 1
}
All we are really doing here is wrapping the Random number generation functions in order to make them easier to use. I’m a sucker for convenience.
While we are at it, let’s fix up some bad code in level.go. Rather than constantly appending to a slice, since we know the size of the map, it would be much more efficient if we just initialized our array to that size in the first place.
func (level *Level) CreateTiles() []MapTile {
	gd := NewGameData()
	tiles := make([]MapTile, gd.ScreenHeight*gd.ScreenWidth)
	index := 0

	for x := 0; x < gd.ScreenWidth; x++ {
		for y := 0; y < gd.ScreenHeight; y++ {
			index = level.GetIndexFromXY(x, y)
			if x == 0 || x == gd.ScreenWidth-1 || y == 0 || y == gd.ScreenHeight-1 {
				wall, _, err := ebitenutil.NewImageFromFile("assets/wall.png")
				if err != nil {
					log.Fatal(err)
				}

				tile := MapTile{
					PixelX: x * gd.TileWidth,
					PixelY: y * gd.TileHeight,
					Blocked: true,
					Image: wall,
				}
				tiles[index] = tile
			} else {
				floor, _, err := ebitenutil.NewImageFromFile("assets/floor.png")
				if err != nil {
					log.Fatal(err)
				}

				tile := MapTile{
					PixelX: x * gd.TileWidth,
					PixelY: y * gd.TileHeight,
					Blocked: false,
					Image: floor,
				}
				tiles[index] = tile
			}
		}
	}
	return tiles
}
This seems to be a small change, but it’s going to make our code just that much better.
Now, in order to draw the player, we will want to add some data to Renderable. In components.go change the Renderable struct to the following:
type Renderable struct {
	Image *ebiten.Image
}
Of course, you will need to add ebiten to your imports for that to work, so also add this right under where is says package main
import "github.com/hajimehoshi/ebiten/v2"
Now we need to edit world.go and make some changes so we can add our player properly. To start with, add the following imports:
	"log"
	"github.com/hajimehoshi/ebiten/v2/ebitenutil"
We also want to declare these two variables globally outside of any functions:
var position *ecs.Component
var renderable *ecs.Component
Remember to change the := to = in the InitializeWorld function for these variables.
Right before we create the player entity in InitializeWorld, add the following to load the image for the player from a file:
playerImg, _, err := ebitenutil.NewImageFromFile("assets/player.png")
if err != nil {
	log.Fatal(err)
}
Once that is done, you will want to change the add component logic for the Renderable component to the following:
AddComponent(renderable, &Renderable{
	Image: playerImg,
}).
The last thing we need to change in InitializeWorld is to create a view for all renderable objects in the game. Add this right before the return statement:
renderables := ecs.BuildTag(renderable, position)
tags["renderables"] = renderables
This creates a view of every game entity which should be rendered and where it should be rendered. This will be extremely important for our first system.
Create a new file named render_system.go. Add the following to the file:
package main

import (
	"github.com/hajimehoshi/ebiten/v2"
)

func ProcessRenderables(g *Game, level Level, screen *ebiten.Image) {
	for _, result := range g.World.Query(g.WorldTags["renderables"]) {
		pos := result.Components[position].(*Position)
		img := result.Components[renderable].(*Renderable).Image

		index := level.GetIndexFromXY(pos.X, pos.Y)
		tile := level.Tiles[index]
		op := &ebiten.DrawImageOptions{}
		op.GeoM.Translate(float64(tile.PixelX), float64(tile.PixelY))
		screen.DrawImage(img, op)
	}
}
So, what is all this? A system is nothing more than a function which acts on a set of entities. ProcessRenderables takes a Game object, a current level, and an image.
- The Game is so it can access the world (and any other globals).
- The Level is because it needs to translate x and y from logical tile position.
- The screen is the surface to render on.
Inside our System, we loop through all entities who meet the criteria of the query. In this case, we are iterating through all entities in our view or renderables (which we created in world.go).
For each entity, we get the image and the position and we paint it on the screen. It doesn’t matter if it’s a player, monster, or anything else. As long as it has a the Renderable and Position components, it gets rendered. This is how systems work.
Calling the System…
The last step you need to do to see the player is to call this system. In main.go you will need to put the following line at the end of the Draw function.
ProcessRenderables(g, level, screen)
This should go right after the call to DrawLevel.
Run the game and it should look like this:
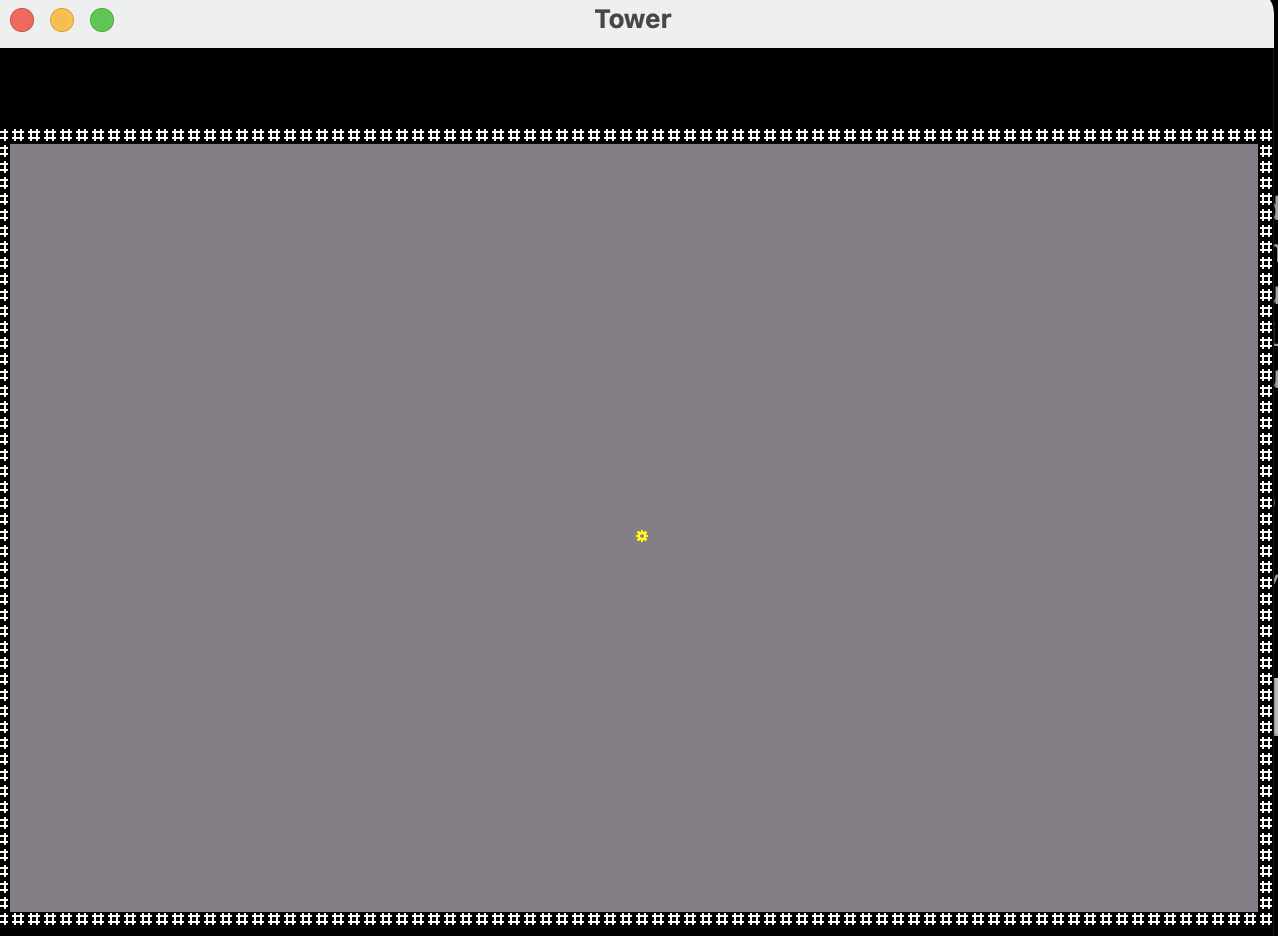
Movement
Well that’s nice, but it’s a lot of work for a player that doesn’t even move. Let’s fix that. Let’s create another file. Name it player_move_system.go. Once again, let’s put the code in the file and I’ll explain what it’s doing.
package main

import "github.com/hajimehoshi/ebiten/v2"

func TryMovePlayer(g *Game) {
	players := g.WorldTags["players"]
	x := 0
	y := 0
	if ebiten.IsKeyPressed(ebiten.KeyUp) {
		y = -1
	}
	if ebiten.IsKeyPressed(ebiten.KeyDown) {
		y = 1
	}
	if ebiten.IsKeyPressed(ebiten.KeyLeft) {
		x = -1
	}
	if ebiten.IsKeyPressed(ebiten.KeyRight) {
		x = 1
	}

	for _, result := range g.World.Query(players) {
		pos := result.Components[position].(*Position)
		pos.X += x
		pos.Y += y
	}
}
So, as with any system, we need to get our entities. We also need to know the direction we wish to move in. Reading input in Ebiten is pretty straightforward, so as the key is pressed, we set the direction we will change the X/Y coordinates by one. Remember that this is tile based movement, so we are setting a whole tile of movement here, not a set of pixels (we convert on render if you recall). Once we have the X and Y delta, we get each player and apply the change. I can get away with how I’m doing it here because we only have one player. Multiple players would need a little bit more logic. Once we have changed the X and Y position, on the next render cycle, the entity we changed will have a new X and Y and will be drawn in the new position.
With that, we need one last change to enable player movement. Go back into main.go and add this line to the Update function (right above the return):
TryMovePlayer(g)
That is it! We now have player movement. The player zips around like a toddler on a sugar high, and completely ignores any collision detection. The player can even run off the screen. Don’t worry, we will fix that presently.
That’s it for this tutorial. If you have any questions, feel free to contact me at fatoldyeti@gmail.com or @idiotcoder on the gophers slack.